Maya • Diffuse, Specular, and Bump Maps
Lights are in and then we needed to colour block / choose the aesthetic
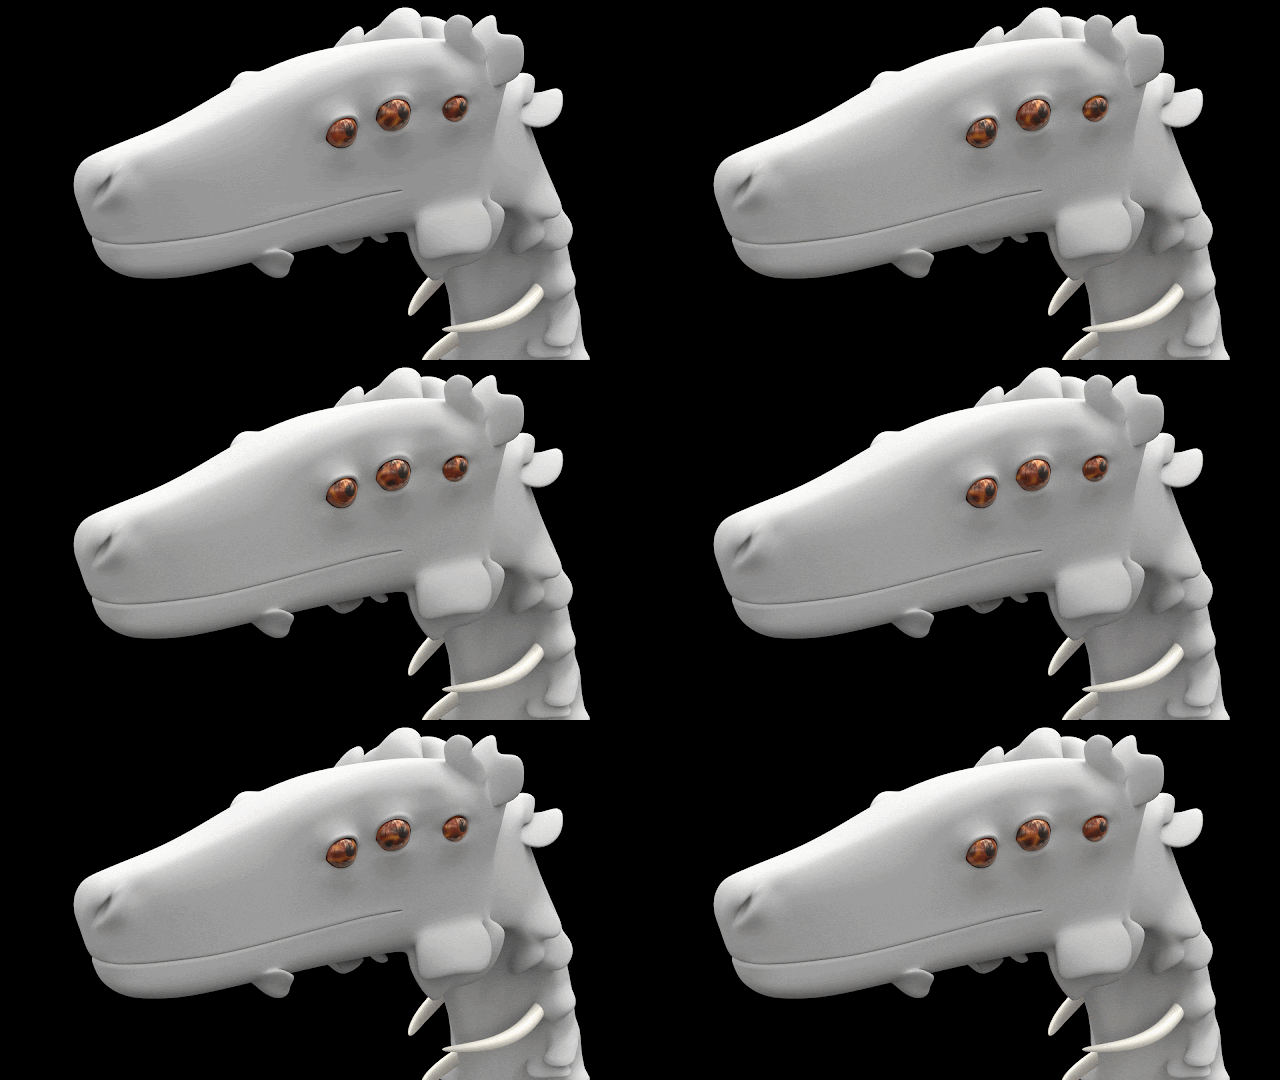
A problem that came up was that I'd mixed up my bump and specular maps, which gave a weird look to the render.
colour chosen in Maya is gamma-corrected by 2.2, and this will need to be adjusted to photoshop files
can take the actual colour numbers and take the colour from the image, we then rendered an AO (ambient occlusion) version, two of them one with no falloff and one with a value of 1 in falloff.
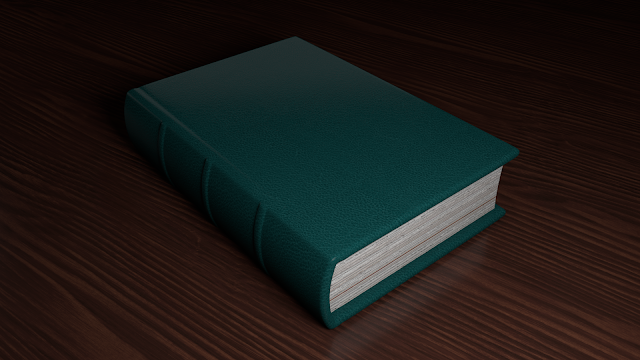
we combined this with diffuse, bump, and specular maps, to create the image below.
A problem that came up was that I'd mixed up my bump and specular maps, which gave a weird look to the render.


Comments
Post a Comment